
| Director: Brad Garrett Creator: Brad Garrett Genres: Special Interests Sub-Genres: Crafts & Hobbies Studio: Film Baby Format: DVD Audio - Color - Full length Run Time: 1hr 40min Screens: Color Number of Discs: 1 SwapaDVD Credits: 1 Total Copies: 0 Members Wishing: 0 MPAA Rating: G (General Audience) |
Member $avings: $7,155,510.74
|
DVDs Available: 71,885
|
Members Online: 28
Your source for swapping dvds online... Watch...Swap...Save
Search - Tie Dye Crash Course on DVD Audio
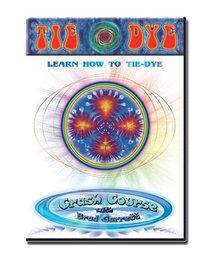 | Tie Dye Crash Course Director: Brad Garrett Genres: Special Interests G 1hr 40min The crash course begins by breaking the steps of making tie-dyes into 8 parts. — -Chemicals — -Tools — -Cotton Preparation — -Folding — -Tying — -Dye Preparation — -Appling the Dye — -Finishing the Process — Swirls — Learn how to ma... more » |
Larger Image |
Movie Details
Similarly Requested DVDs
 | Baby Einstein - Language Nursery NR 2002 2hr 42min |
 | Baby Einstein - Baby Noah - Animal Expedition Director: n/a NR 2004 0hr 38min |
 | Mrs Henderson Presents Widescreen Edition Director: Stephen Frears R 2006 1hr 43min |
![Invincible [Blu-ray]](https://nationalbookswap.com/dvd/s/60/7460/147460.jpg) | Invincible Blu-ray PG 2006 1hr 45min |


 | Lewis Black - Unleashed NR 2003 1hr 56min |
 | What The Bleep Do We Know NR 1hr 48min |
 | Notes on a Scandal Director: Richard Eyre R 2007 1hr 32min |
 | The Knights Templar Director: James Wignall UR 2002 2hr 0min |